Tuesday, July 24, 2012

A bit about our windows


Turn function of the window
In a Passive House the windows are like an appliance that performs a specific task efficiently. They are an integral part the passive solar function of the house. The windows capture solar energy into the house and then must help the house retain that energy,  i.e. not let all that good heat go right out the window, a one way valve.  We decided on Intus Eforte windows manufactured in Lithuania, http://intuswindows.com/passive-house-window.html

While the windows are not officially certified by the Passive House organization, their performance metrics are comparable to windows that are.

There are 3 main metrics for analyzing window performance.  U-value is a measure of a window's ability to keep heat from escaping the house, lower is better.  It is the inverse of R-value, a metric commonly used with insulation.  SHGC is Solar Heat Gain Coefficient, a measure of the fraction of heat from the sun that makes it into the house.  VT is visual transmittance, a measure of the amount of light from the sun that makes it into the house. 

The eastern and western windows have U-values of 0.088, an SHGC of 0.4 and a VT of 0.58.  The northern and southern facing windows have U-values of 0.105, an SHGC of 0.5 and a VT of 0.74.  Originally, the SHGC of the southern facing windows was going to be higher, but there was concern about too much solar gain in the spring and fall when the sun is lower in the sky. 

Why did we choose Intus?  There are no American-made windows that meet the performance requirements of our Passive House, so we had to look at European manufacturers.  Wood framed windows were too expensive.  That left us with UPVC.  We looked at Intus, Shuco and Unilux.  Since we have no idea which if any of these companies will still be in business in the US 10 years from now, it ultimately came down to cost.  Intus was 25% less expensive than the second place finisher, Shuco.  We ended up paying about $50/SF of glass, but that includes a large slider and two doors.  I was surprised at how affordable these windows were. 


You can see the "tilt" function in the top left window. The windows are nicely shaded in June.
 We're very happy with the windows.  They seem to be really well made.  The windows are a little different that what we are used to in the US.  They are in-swing windows which are popular in Europe.  They have a really cool tilt-turn function that enables you to tilt the window in just a little for ventilation (see top left window in the picture above) or swing the window all the way open like a door.  They seal up very tightly when closed.  We were able to get some really large panes of glass for an uninterrupted visual frame of the trees and beautiful garden I'm still dreaming about.

Our architect Jamie also designed a beautiful curved overhang like the brim of a hat on the south side of the house to provide just the right shading for the first floor windows for the time of year and position of the sun.  We have been at the house during these hot summer days and have seen the upstairs windows perfectly shaded by the roof overhang and the large slider in the dining room perfectly shaded by the hat brim as well.  I  look forward to feeling the sun shining in brightly in the colder months to warm our New England winter bones.

Sunday, July 22, 2012

Finishing the wall insulation

The insulators were back last week putting in the final layer of dense pack cellulose between the studs of the inner stud wall.  This completes the EPS/Polyioso sandwich with dense pack cellulose bread.

The video below shows the cellulose being blown between the studs and the cloth batting.  Behind the studs, you can see the aluminum foil cover on the sheets of Polyiso from the middle layer of insulation.


This brings the total wall insulation of our 1' thick double stud walls to R 48.  Is this a lot of insulation?  The framer has commented that we could have insulated standard 4 houses with the amount of insulation in our Passive House and that was before this last layer of dense pack went in.  The CT Energy Efficiency Fund gives rebates for "High Performance Insulation".  Their minimum requirement is R 21.  We have more than double the insulation of what is considered a very well insulated home.  One of the fundamental principles of Passive House is super insulation.  We're definitely meeting that requirement.

The basement walls (where we'll lose less heat) are insulated with 2 inches of Polyiso up against the foundation walls and dense pack cellulose in between 2x6 studs.  These walls have a combined R-value of R 32.  Underneath the basement slab is 5 inches of EPS at R 28.  The slab doesn't meet the foundation walls creating a thermal break that prevents heat from being conducted from the slab to the foundation.

The attic is going to be insulated with loose pack cellulose to R 83.  This should do wonders for keeping the heat from escaping to the roof during the cold months and infiltrating from the roof during hot months.  Again, the CT Energy Efficiency Fund requirement for ceilings is R 40, so again, we have more than twice this amount of insulation.

According to our builder all this extra insulation costs about $10K more than insulation would on a standard house.  We think that the upfront cost will more than pay for itself over the house's life.  In addition the extra insulation will provide a more comfortable place to live.


Wednesday, July 11, 2012

Walls like a sandwich, Insulation Information

The wall construction of a passive house is one thing that makes it very distinct from a standard building.  Our architect Jamie Wolf told us when Passive House "geeks" get together, their line is "What are your walls?" meaning what are the materials and construction you use in the Passive Houses you build. In my last blog entry, I described the first blower door smoke test to check for air leakage in the outer wall structure. We have come to the next step in wall construction, the insulation.  Jamie describes his walls as a "Sandwich Wall".  Basically, it is a double stud wall with several layers of insulation. Outside to in, an outer stud wall with dense pack cellulose blown in between the wall studs retained by a mesh batting (the bread). 

Dense pack cellulose being blown in between the wall studs
Next is a 4" thick layer of EPS, then a 1" layer of Polyisocyanurate (Meat and cheese).


Three layers out of the four done

Finished off with an interior stud wall with dense pack cellulose blown in between the studs and the interior wall board (bread again).  Insulating and appetizing. Great care is taken to eliminate air leakage and thermal bridging which is heat loss through conduction.

I have been a little remiss about blogging in real time. A lot of progress has been made at the Green Box.  I'll catch up in the next couple of entries.

Currently, the interior stud wall is partially constructed but will not be closed in with wall board until all the electrical, plumbing, ventilation, and heating/cooling lines are finished being installed in all of the interior walls so they can all be closed up together.  In addition, the windows are in, the roof shingles are on, and the screen porch and front porch are in the works.  More details and photos soon to come.


I love our windows
In other news, our green box is an official participant in the CT Zero Energy Challenge for 2012. Check out our entry and the competition at www.ctzeroenergychallenge.com/.We are entered as WolfWorks - Harwinton,CT.

Wednesday, May 23, 2012

Smokin' - The first Blower Door Test

A couple of weeks ago we had our first blower door test.  A blower door test tests air leakage in a building.  This test, the first of several we expect, was meant to see how tight the frame of the house is.
The builder next to the blower door
 
Since the windows and doors haven’t been installed, window and door openings were all sealed, either with house siding (i.e. they haven’t been cut out yet) or taped shut with plastic.  A special blower was placed in the front door.  First, the blower pulled air out from the house, depressurizing it to 50 pascals.  Air pressure inside the house was less than air pressure outside causing air outside to be sucked into the house.  A meter then measured how much air entered the building.
 
The passive house standard requires that air leakage in a building be limited to 0.6 ACH  (air change per hour) at 50 pascals.  This means that when the house is pressurized to 50 pascals pressure differential between inside and outside, 0.6 of the volume in the house will leak in or out each hour.  For a house the size of ours we were looking for a reading of 350 (not sure what units) from the meter to meet the Passive House standard.  The meter reading was 220 or less than 2/3 of the Passive House threshold.
 
For comparison, our builder told us he performed the blower door test on his own home, a typical leaky home, and got a meter reading of 4000.  At another client’s home where they took a leaky home and did some energy efficiency work, the meter reading after the energy efficiency work was 1900.  This illustrates that it’s much easier to build a house that’s air tight than it is to take a leaky house and make it air tight.
 
Air leakage is measured when a building is pressurized because it’s much more difficult to measure under normal conditions.  The pressurized readings can then be mathematically converted to normal condition readings (by dividing by 16 or 17).  The Passive House standard of 0.6 ACH at 50 pascals converts to about 0.035 ACH without a pressure differential.  This means that under normal conditions only 3.5% of the air volume in a house will leak out per hour.  Compare this to our builder’s leaky home where more than 50% of the volume of air will leak every hour.  Much of the energy that a building loses is through air leakage.  We can see here that our house will lose a small fraction of the energy that a typical leaky house loses.  This is a clear example of how putting a little thought and energy into the early stages of construction can make a home much more energy efficient without a big expense. 
 
 
Fogging the seams inside the building
 
After the air leakage readings were taken, the builder broke out a fog machine.  This time, the blower door fan was reversed to pull air into the building and create higher pressure inside.  Fog was blown against all the seams inside the building while the framing crew looked for escaping fog outside the building.  The few areas where leakage was found were marked and sealed with silicon or tape.

Here's a quick video showing the fogging from outside the building:


The next blower door test will probably take place after the windows and doors have been installed.


Saturday, April 28, 2012

What is a Passive House?


Here’s another crack at a very brief summary of what a Passive House is.  There’s a ton of information on this subject available on the internet.  At the end of the post are links to a bunch of sites that are very informative if you’re interested in reading further.


What is a Passive House?

A Passive House (PH) is an ultra-energy efficient building.  The PH standard was developed in Germany in the 1980s and 1990s.  A building built to the PH standard will require a small fraction of the energy to heat and cool compared to a building constructed in a more standard manner.  A common boast about a PH is that it only requires a couple of hair dryers for heating in the dead of winter in a cold climate.  By capturing heat from the sun and effectively keeping that heat inside the building, a PH is able to accomplish this seemingly magical feat.  The PH standard is one of the most rigorous building standards in the world.

The PH standard requires that a building’s energy usage not exceed very strict limits.  Additionally, there is one prescriptive requirement to meet the PH standard, i.e. that there is very little air leakage in the building.  The table below illustrates the PH requirements.

Criteria
Requirement in kBTU/ft2
Requirement in kWh/m2
Annual Heat Demand
≤ 4.75 kBTU/ft2
≤ 15 kWh/m2
Peak Heat Load
≤ 3.17 kBTU/(ft2hr)
≤ 10 kWh/(m2hr)
Annual Cooling Demand
≤ 4.75 kBTU/ft2
≤ 15 kWh/m2
Total Annual Source (Primary) Energy
≤ 38.1 kBTU/ft2
≤ 120 kWh/m2
Air Leakage
≤ 0.6 ACH @ 50 Pascals


Here’s an example of a comparison of a Passive House to a traditional house.  The current 2100 ft2 condo we live in, built in the 1970s, is heated by 525 gallons of kerosene per year.  At 135,000 BTU/gallon of kerosene, this equates to an annual heat demand of 71,000 kBTU.  To meet the PH standard, a 2100 ft2 condo would need to have an annual heat demand of no greater than 10,000 kBTU (4.75 times 2100).  A PH the same size as our current home would need to consume at most 14% of the energy we currently use to heat our home.  For our condo to meet the PH standard, we’d need to be able to heat our home with 74 gallons of kerosene instead of 525 gallons.

Preliminary indications are that our new house with a floor area of 2800 ft2 will have an annual heating demand of 3.6 kBTU/ ft2, exceeding the PH standard by 25%.  A very small 9000 BTU air source heat pump will be able to heat the entire house using only 1250 kWh per year of electricity.  At $0.14/kWh this will cost $175 per year which is considerably cheaper than the $2500 a year we spend to heat our smaller condo.

The analysis above is a bit of a simplification.  The hypothetical 2100 ft2 condo described wouldn’t need to actually use 74 gallons of kerosene to heat, rather, the PH modeling software would need to think that it would use the energy equivalent of 74 gallons of kerosene to heat.  We’re taking the leap of faith that, in our new home, the heating requirements projected by the PH modeling software will be close to the actual heating requirements.  We’ll report back to you on this after the winter.


What techniques are employed in building a Passive House?

The combination of the following 3 strategies can result in a building meeting PH certification requirements.

  1. Passive Solar Building Design
    1. The vast majority of windows face south.
    2. High efficiency windows with very high solar heat gain coefficients are used, i.e. windows that are able to capture heat from the sun inside the house rather than reflect the heat back outside.
    3. Roof overhangs shade windows when the sun is high in the sky during the summer months to prevent overheating.
  2. Air Tightness
    1. No air gets in or out of the building except through a mechanical ventilation system that transfers energy from the indoor air being exhausted to the incoming outdoor air.  Very efficient Energy Recovery Ventilation systems are able to retain up to 90% of the indoor air’s energy.
  3. Super Insulation
    1. Framing with techniques to reduce Thermal Bridging, i.e. energy leaking in and out of the building through studs in the wall
    2. Thick walls that contain very effective insulation
    3. High efficiency windows that reduce heat losses overnight

None of these techniques are very difficult or expensive to implement.  They just require thought in the design process to achieve the goal of energy efficiency.


What are the benefits of living in a Passive House?

  • A planet friendly lower carbon footprint.
  • Reduced costs for building heating and cooling.
  • More comfortable indoor environment.
    • The entire house stays one temperature.  No cold or hot rooms.
    • There are no drafts. 
    • Wall and window temperatures remain very close to room temperature.
  • Healthier indoor environment.
    • The mechanical ventilation system ensures that fresh air is constantly circulating through the building. 
    • Ventilation system filters reduce the amount of particles in the indoor air. 
    • Moisture levels are carefully controlled to eliminate the risk of mold.


Places to read more about Passive Houses?

There are tons of sites with information about PH.  Below are some sites that I’ve found useful.


Monday, April 23, 2012

Raise the Roof

Fork lift setting a section of the trusses
Looking up through the trusses to the sky
Our big green box is looking more like a house now that the roof is on.  I watched as the builders attached with uniform spacers several custom built trusses. This created as section of the roof that was then fork lifted onto the top of our big green box.  This process was repeated a few more times which completed the structure that is like a beautiful spine that creates the structure of the roof.  This heavy duty structure will be supporting many PV Solar panels as well as some good New England snow so it has to be strong. 

Today the builders finished putting on the roof sheathing.  You can see the seams are taped to help create a tight air seal necessary for a Passive House.

After the internal room studs are placed, the next few steps will really distinguish the building process as being uniquely Passive House with the installation of the insulation.  To stay tuned, please enter your email address on the right into "follow by email".  You will receive a notice when we post each new blog entry.  I will no longer send out individual email reminders.


It's starting to look like a house


Saturday, April 7, 2012

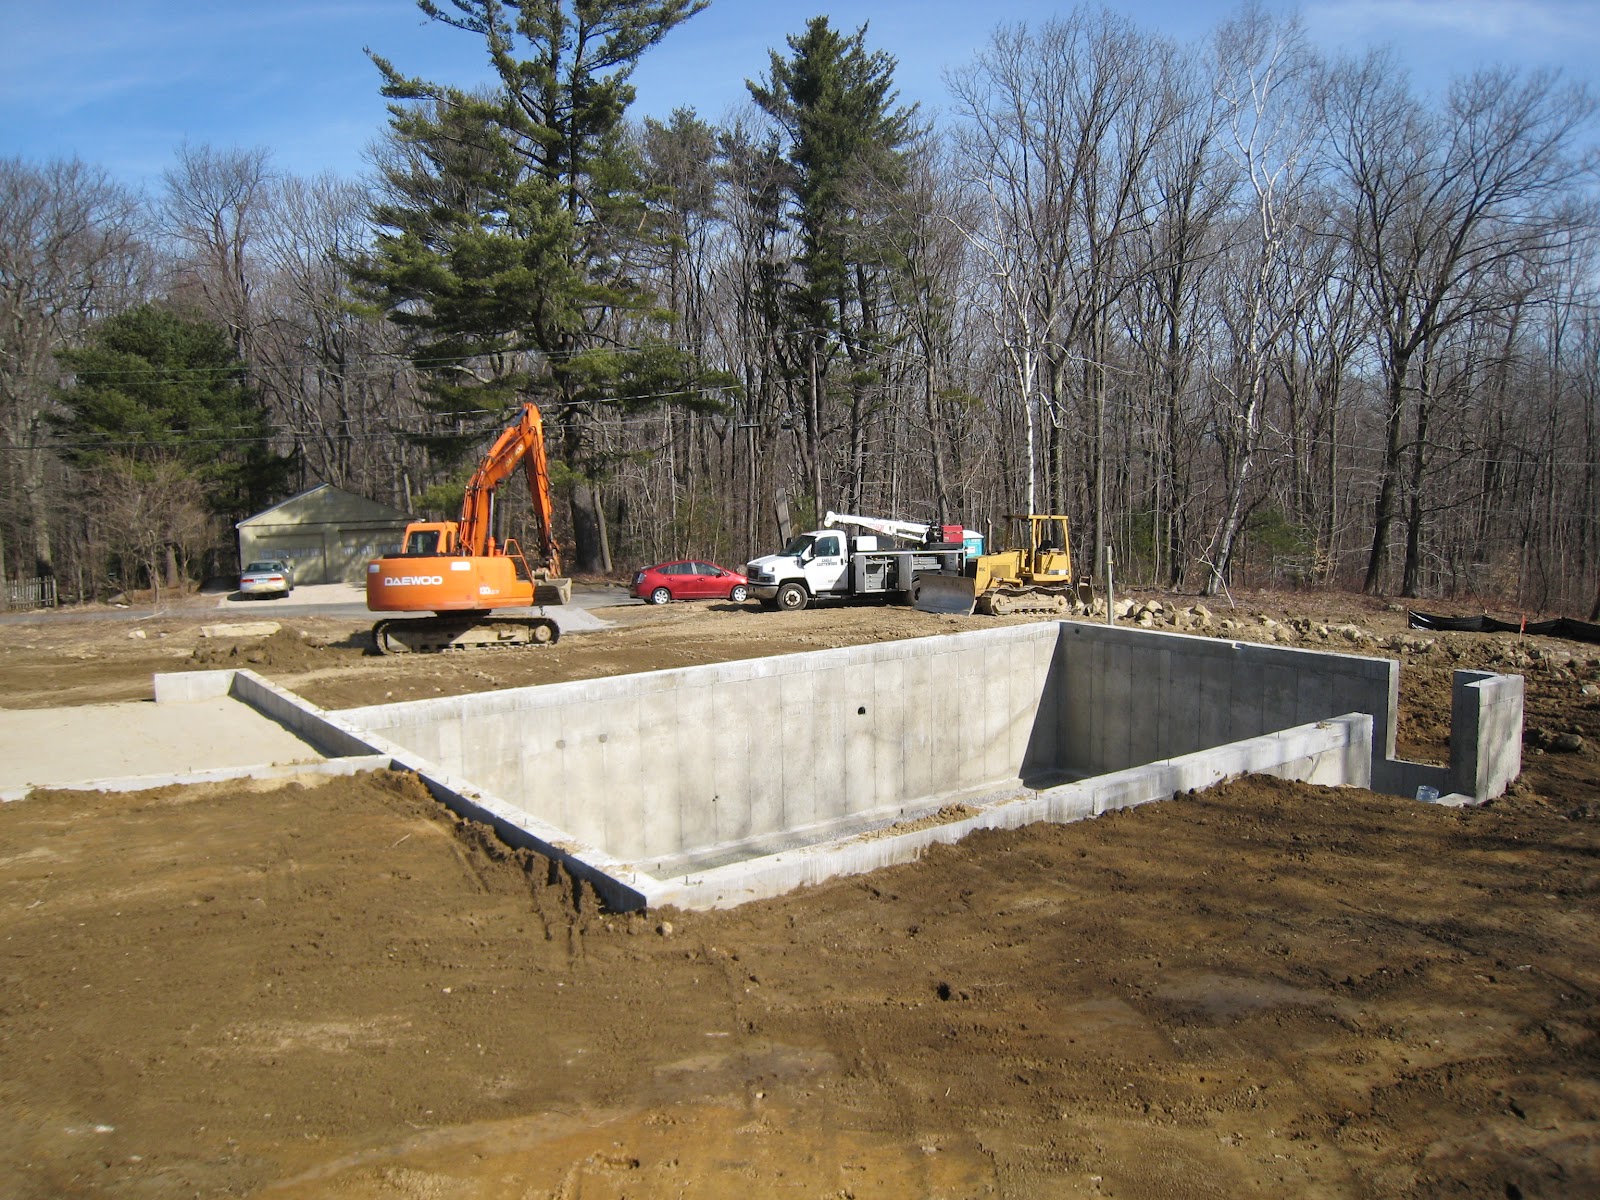
From the dirt, a house begins to emerge


Foundation poured and backfilled.
Apropos of Spring, Our Connecticut Passive House has sprouted up from the ground like the crocuses and daffodils. After seeing our house for so long on paper and in my imagination, it's amazing to see it physically begin to take shape.

Cement footings, then thick cement walls for the basement and the base of the garage were poured last month, thanks to the mild winter. The first floor/basement ceiling has been constructed as well as part of the first floor exterior walls.
South/east corner.  Large windows let light and heat in
 the lower level.
So far, it looks like construction you'd see on a typical house.  There are a few differences, however.  A lot of attention is being paid to air tightness as the frame is constructed.  Gaps between consecutive sill plates are sealed.  There's a layer of rubber weatherstripping between the foundation and the sill plate.  Joints on the exterior walls are sealed with tape.  A lot of attention is also paid to reducing thermal bridging.  Instead of joists 16" apart ours are 24" apart.  The frame of the house will be constructed with double stud walls.  You can see the exterior stud wall in this picture.  Inside the exterior studs will be 5" of rigid foam insulation creating a continuous area of insulation.  Inside the rigid foam insulation will the be interior stud wall.  Both the interior and exterior stud walls will be insulated with cellulose between the studs. In the basement, a layer of rigid foam insulation will sit inside the foundation walls and underneath the concrete basement floor.

A huge ammount of planning and design has gone into this project and it is so exciting to see it all comming to fruition.  I guess I need to rename "our patch of dirt".  Now it's "our big green box".